As the saying goes, '; To do a good job, one must first sharpen their tools; The same applies to the field of portrait photography. You need to prepare different equipment in order to use different techniques and create different visual effects.
Today, we are going to introduce three advanced portrait photography techniques that require the use of a tripod. If you happen to have a tripod on hand, remember to give it a try~

1. Extend exposure time
Tripods are often considered to be associated with; Professional; One important reason for the word 'hook' is that it allows you to maintain camera stability and extend exposure time.
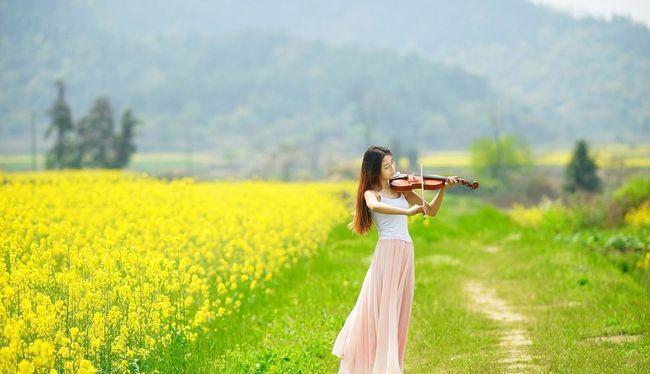
When shooting in low light environments such as indoors or at sunset, extending the exposure time can allow you to use lower sensitivity, resulting in better image quality.
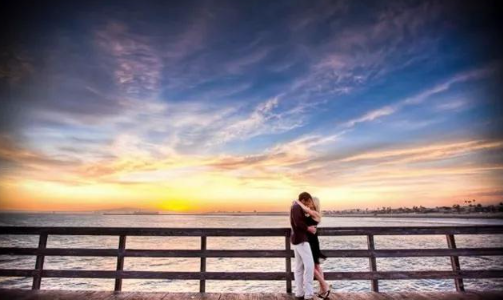
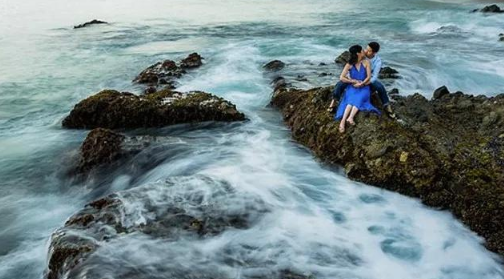
In addition, if there are some moving objects around your subject, such as crowds, flowing water, traffic, etc., you can also take photos by extending the exposure time; Combining dynamic and static elements; The feeling.
However, in order to achieve this, you must communicate with your subjects beforehand, allowing them to place a stable pose and remain still for a period of time.
Regarding long exposure portraits, there are some key techniques that need to be noted:
- The shutter speed setting depends on the speed of the motion element and the desired effect. Are you shooting crowds or flowing water? Do you want dynamic blurring or fogging? It is necessary to constantly adjust and try different shutter speeds.
- Keep the subject stillThe larger the proportion of the character's image, the higher the required level of stillness.. To be extreme, when taking close-up shots of the face, it may be advisable to blink as little as possible. And some large environment portraits only need to pose in a relatively static position.
- Carefully check, as there are quite a few errors in this theme, it is best to use the zoom function for playback after shooting to ensure that key parts are not blurred;; If necessary, it may be necessary to take a few more photos.
2. Photo synthesis
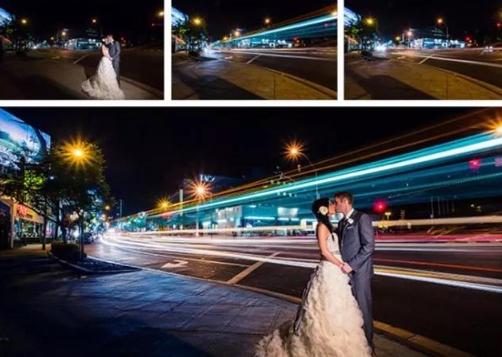
For certain special subjects such as car flow light tracks, star tracks, light painting, etc., due to the long exposure time required (often tens of seconds), you cannot keep the subject still for such a long time. In this case, taking multiple photos and combining them into one becomes the best solution.
As shown in the following picture, you can first take a still photo of the couple, and then ask them to walk away and take a photo of the traffic light track behind them. If the traffic flow is low and the light track is not dense enough, multiple traffic flow photos can also be taken for stacking and synthesis.
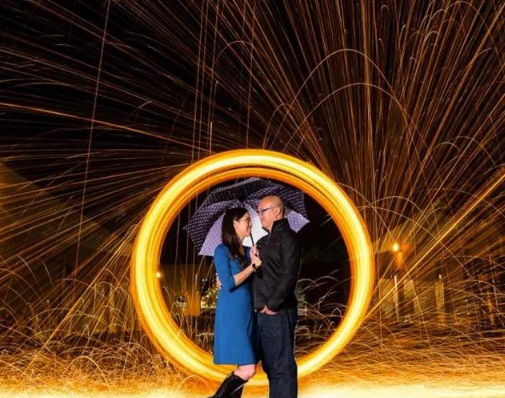
Highly popular; Light painting portrait; Often, synthesis is also necessary, especially when the light drawn patterns are more complex (rather than simply writing a LOVE or drawing a heart).
When applying this technique, there are some key points to note:
- Fixed aircraft position. This is very obvious. If the viewfinder is shifted, the position of the scenery in the picture will also change, and the overall effect will deteriorate.
- First, take a picture of the background. Some people like to take pictures of people first and then ask them to leave, but this is actually not good. You should first use a long exposure to capture the desired background effect, and then use the same shutter speed to capture the person. This way, the background exposure between each photo is consistent, making it easier to synthesize.
- Consider skin color. When taking portraits, the lighting may be insufficient, and you need to use other light sources to supplement the lighting of the face. Be careful, the light source may cause color cast on the face.
3. HDR
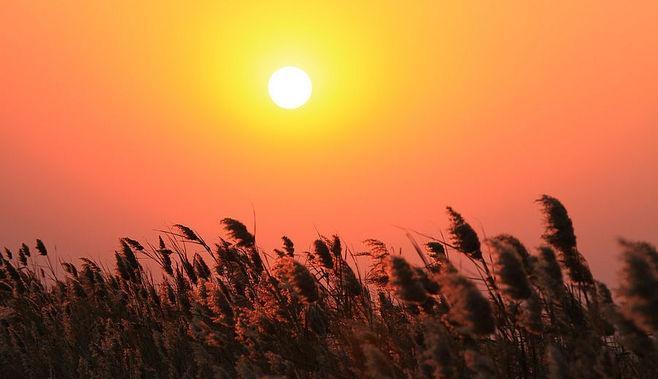
When it's cloudy or cloudy, and there are many clouds in the sky, you can try using HDR techniques to capture the thickness of the clouds, while also solving the problem of large differences in light between the sky and the ground.
Fix the camera, keep the subject in a static position, set the sensitivity to 100 (or lower, if available), medium aperture, and you can start shooting.
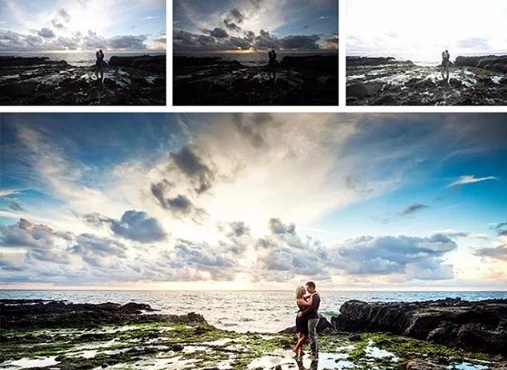
It should be noted that the proportion of people in such works should not be too large, otherwise it is easy to have abnormal skin color (strange or uneven color) problems.
If you feel unsatisfied with the HDR shooting mode that comes with the camera, please manually adjust the exposure compensation and increase the number of photos taken. After production, manually combine the photos with software, and the effect will often be much better.
You also need to pay attention to some technical details:
- Carefully study the HDR mode function of the camera. Different models of cameras have different ways to enable HDR mode, related settings, and specific operation methods. Please carefully study before shooting.
- The shutter speed should be higher. Due to the large number of shots to be taken, it is best to set a higher shutter speed (not less than 1/200 second) to avoid excessive changes in the background scenery that may affect the synthesis results.
- Avoid direct sunlight. Due to the need to try different exposure values (from low to high), direct sunlight entering the mirror can cause overexposure, resulting in loss of details and a decrease in saturation and sharpness.