Most portrait photography works use the three part composition and center composition method; — The shooting effect is indeed good, but it does not mean that other compositions are not good.
In fact, some uncommon compositions can also have good effects when shooting certain specific subjects. Take edge composition as an example, using it to take headshots has a great effect.
What are the common techniques for creating edge composition and taking headshots? What are their characteristics and advantages? What issues should be noted? What are the practical applications?
Let's start with several common techniques for edge composition headshots.
1. Side profile: gaze guidance
Place the subject on the edge, face inside the frame, and use the gaze of the character to guide the audience's attention. The audience will first see the face and then follow the direction of their gaze; Let's go; Spread the entire screen.
When shooting, it is necessary to accurately focus on the person's eyes to make them clearer and more vivid, in order to achieve the desired effect; Guide your gaze; Function:
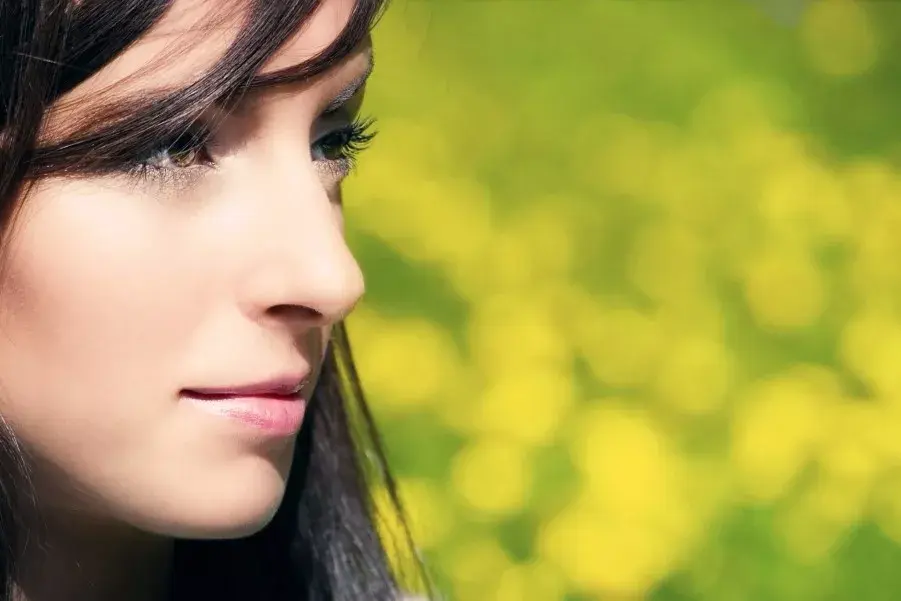
Guiding the audience's gaze with the gaze of characters; Let's go; Spread the entire screen
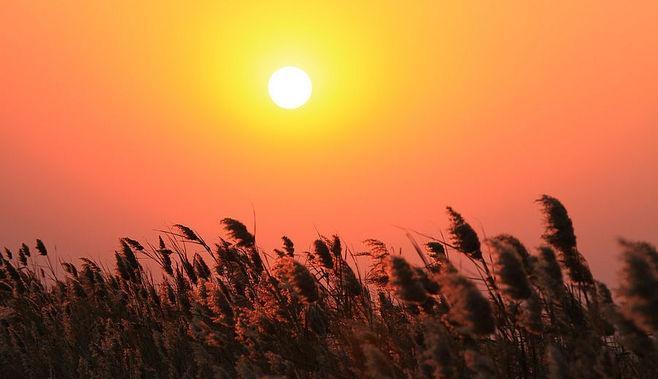
In addition, it is best to use backgrounds with certain connotations or ornamental value for such photos; — It can be beautiful scattered scenery or some interesting scenery.
It is best not to use a solid color background, otherwise the entire photo will appear boring:
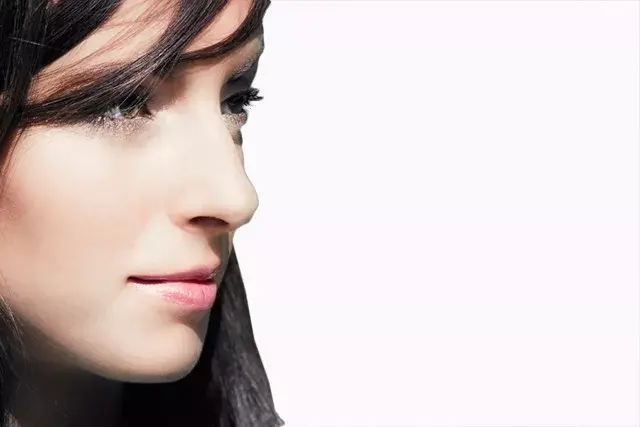
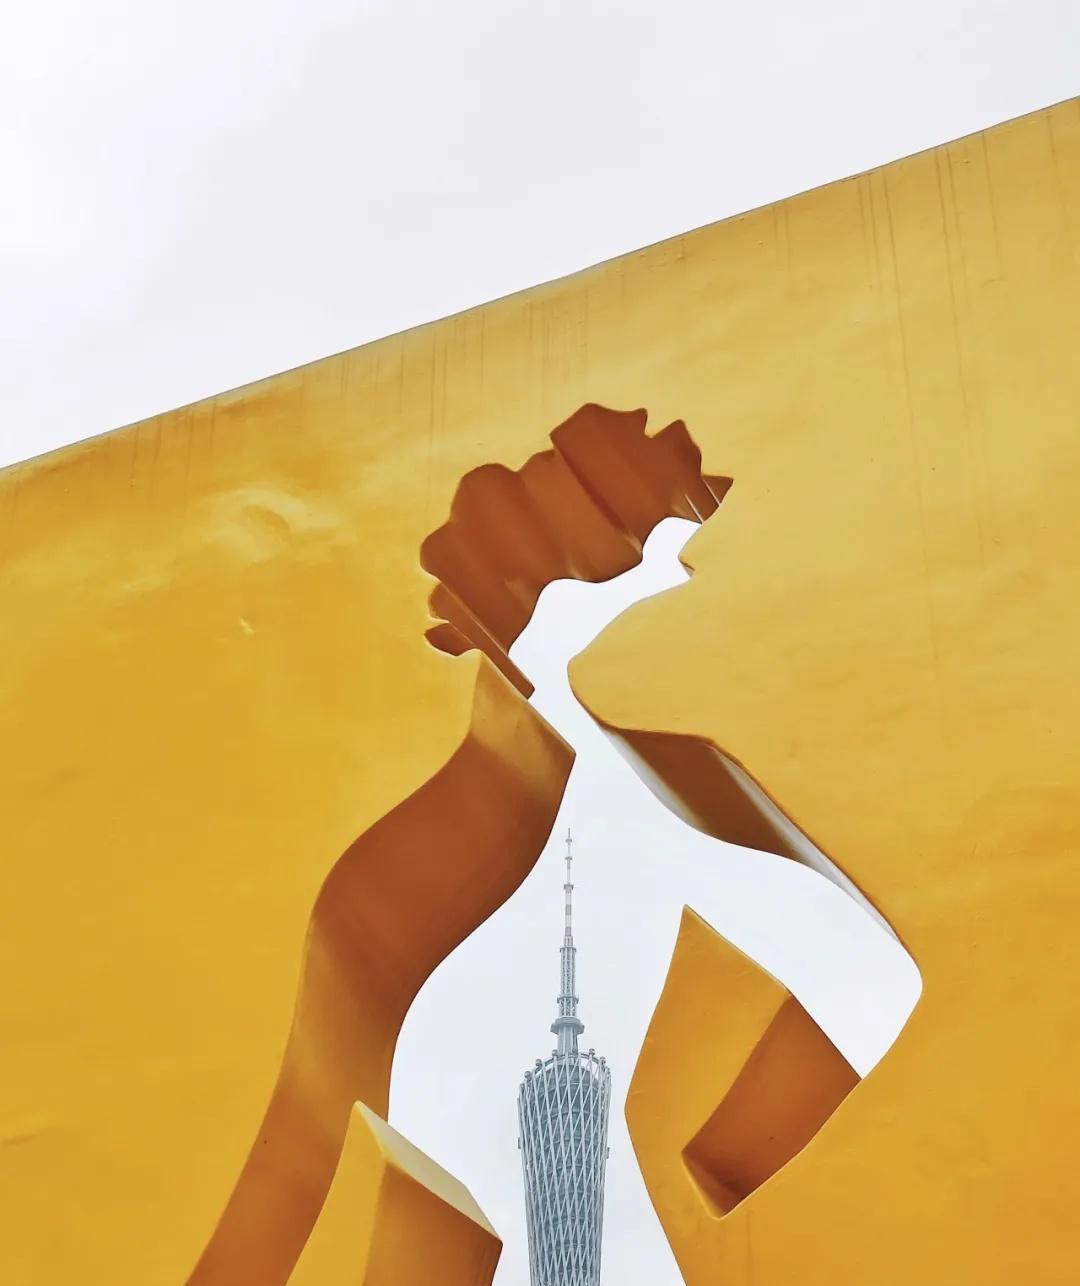
2. Front: Half face+Negative space
Place the front half of the face at the edge of the screen, leaving the rest blank; — It can be a blurred scene or a solid color. The ornamental value of the background does not need to be considered, but it must be sufficient; Clean;.
A large amount of blank space will make the subject extremely prominent; Half a face is more likely to inspire the audience than just one face; Brain Supplement” Function that allows the audience's attention to stay on the face for a longer period of time.
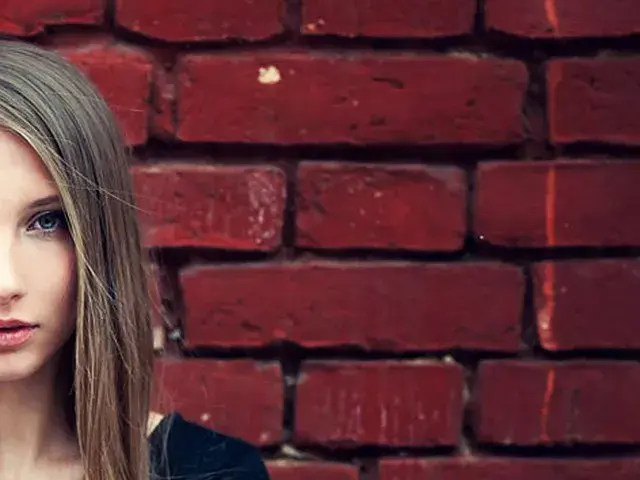
In addition, taking half of a face often looks better than taking the entire face; — At least it looks much smaller; Children's shoes with local blemishes on the face (such as acne on the left cheek) can naturally cover up the blemishes.
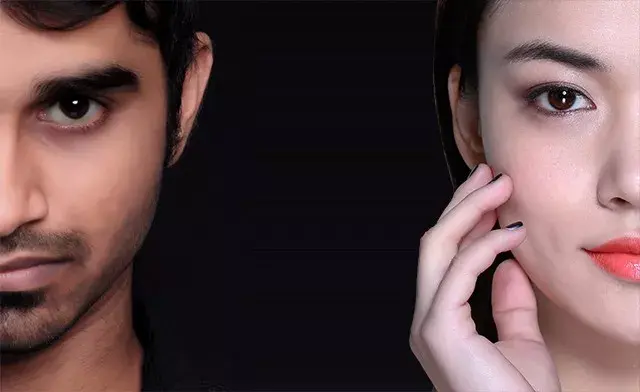
When taking a photo of two people together, you can also try using this composition, which is much more interesting than simply standing together:
3. Kuleshov Effect: Bringing People into the Scene
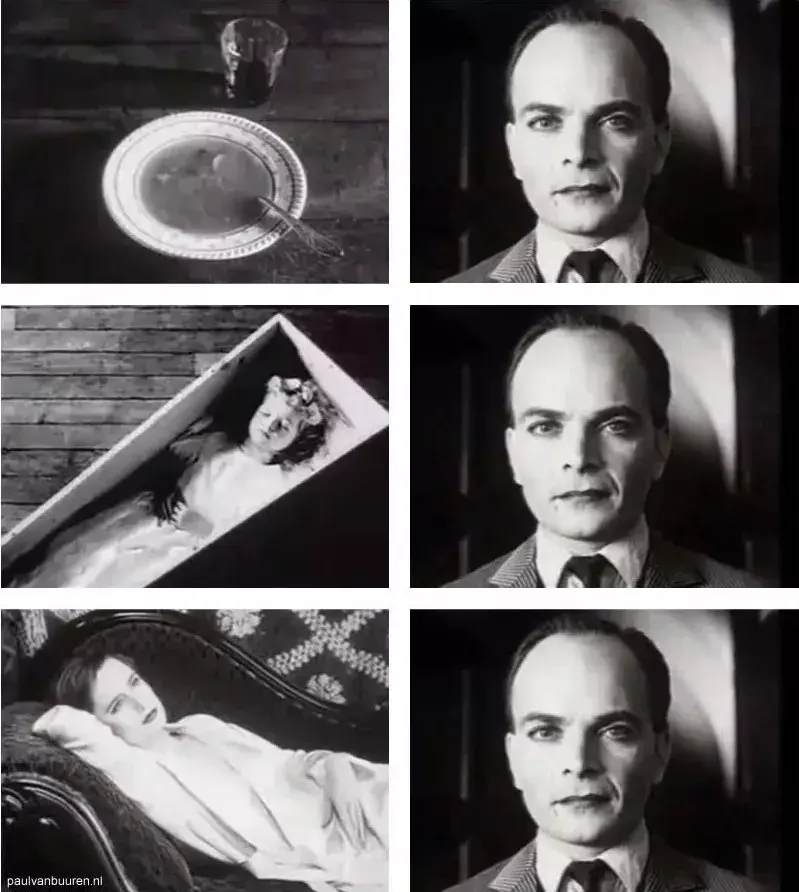
Former Soviet filmmaker Kuleshov once conducted an experiment: placing a close-up of a male face without obvious emotions on the right side of the screen; On the left side of the screen, food, children in coffins, and beautiful women randomly appear.
After the audience watches, ask them; What is the expression on the actor's face; They gave different answers:; Greed” “ Sadness” “ Desire” — — In fact, the actors' expressions have never changed.
Kuleshov effect
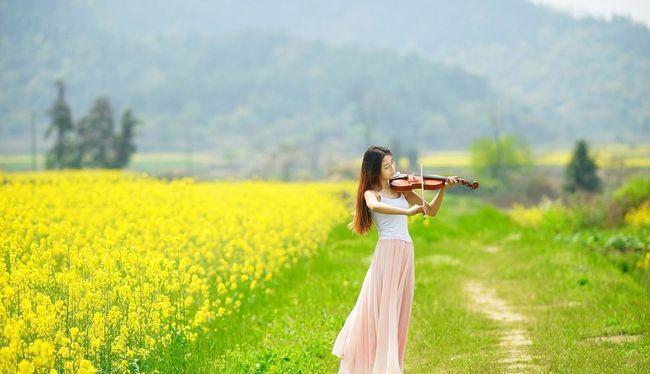
This indicates that when two photos appear on the same screen at the same time, there will be mutual influence. We can also try this when taking portraits. For example, when taking professional portraits, place their work scene next to them:
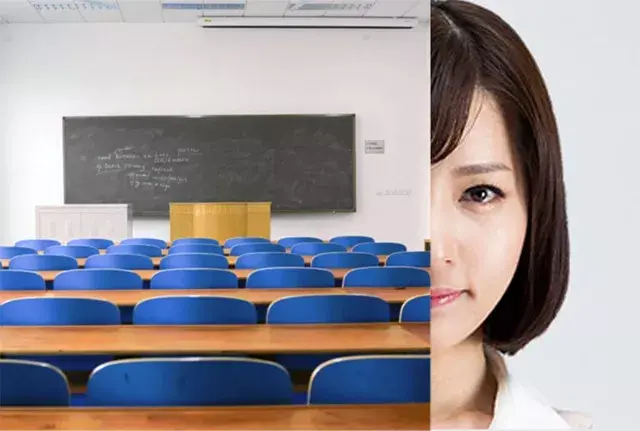
In this way, it can not only make the portrait of the person look better, but also add meaning to the photo: they work here. Is it killing two birds with one stone?
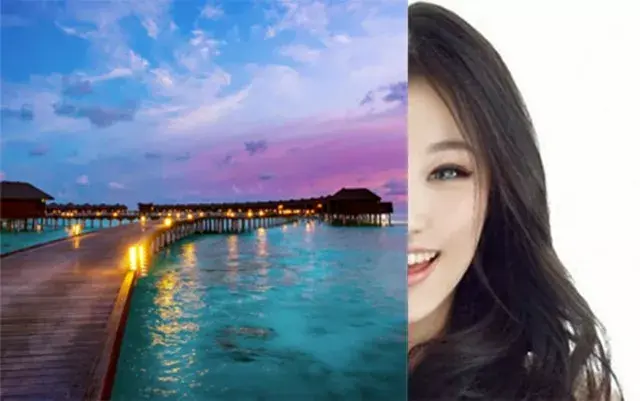
The same technique can also be used when sharing travel photos: posting a beautiful half face selfie with a photo of the scenic spot next to it, isn't it much better than traditional scissor hands?
As for“ Prove that I have been to this scenic spot; Leave the task to those who are clich é d and unappealing; Here's a tour” The photo is ready, let's share it with this beautiful half face and scenery together~
It is worth mentioning that it is best not to have too much difference in brightness and color tone between the two photos. If your half face close-up is white and high-profile, and there is a night view next to it, it will be very lacking in immersion:
4. Conduct later“ Secondary composition;
You can shoot normally in the early stage and then use cropping to form edge composition in the later stage. In this way, if the edge composition effect is not good enough, you still have a comparison; Normal” The photo.
In addition, this also makes it easier for you to fine tune the cutting effect of the face: if the nose is raised, it can expose more of the nose head; For those who find their face too big, they can make the exposed part of their face smaller .....
Don't worry; Trimming can affect image quality; Nowadays, the image quality of cameras is generally very high, as long as the cropping ratio is not too large (such as cutting the environmental portrait into a close-up of the face), there is basically no big problem.
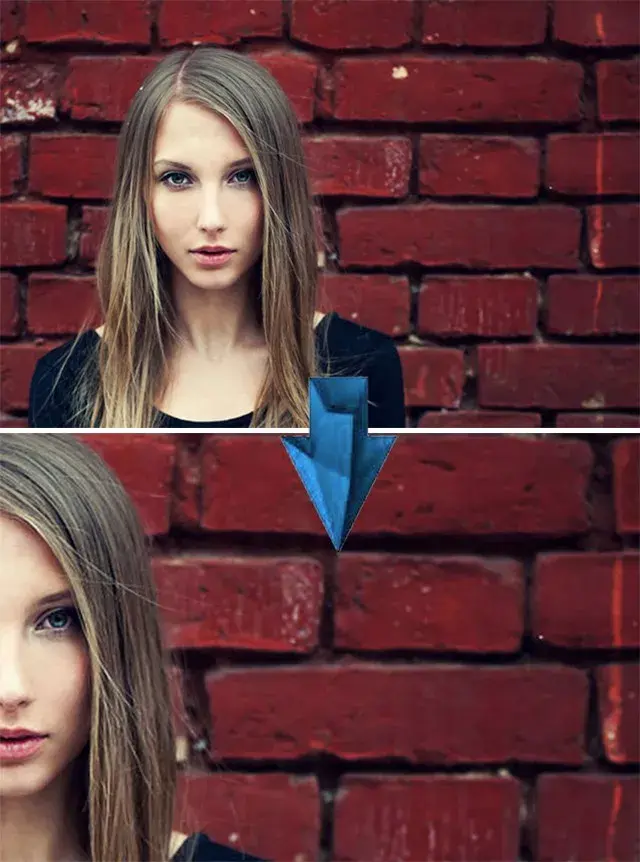
Take normal photos in the early stage, and then cut them into half face close-up shots in the later stage
In addition, if the focal length of the lens is short, the edges of the image are prone to distortion or dark corners; If you use edge composition in the early stages of shooting, your face will be greatly affected.
If the subject is placed in the center of the frame during the early stages of shooting, and then cropped in the later stages to form an edge composition, it can avoid the adverse effects of lens distortion and dark corners.

When shooting, using edge composition can easily be affected by distortion and dark corners
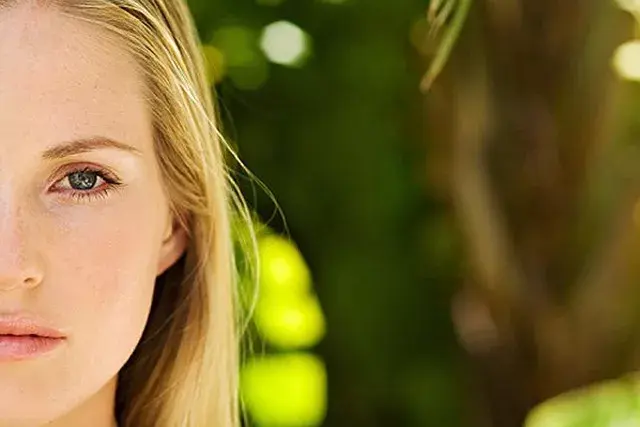
Another thing to note is that it is best to place the face on the left edge of the screen. Due to the influence of reading habits, people generally read images from left to right.
If you place your face on the right edge, this photo will give people a sense of 'ldquo; Nothing at all; The first impression can easily affect the overall perception of the work:

“ There's nothing Oh, so there's someone here;
“ I have acne on my left face and I want to cover it up to expose my right face. I can't put my face on the left side of the screen! ” Can you flip the work over in the later stage to solve the problem~